Browse Tag by diy
Sewing

Sewing Adventures-The Gift of Aprons!

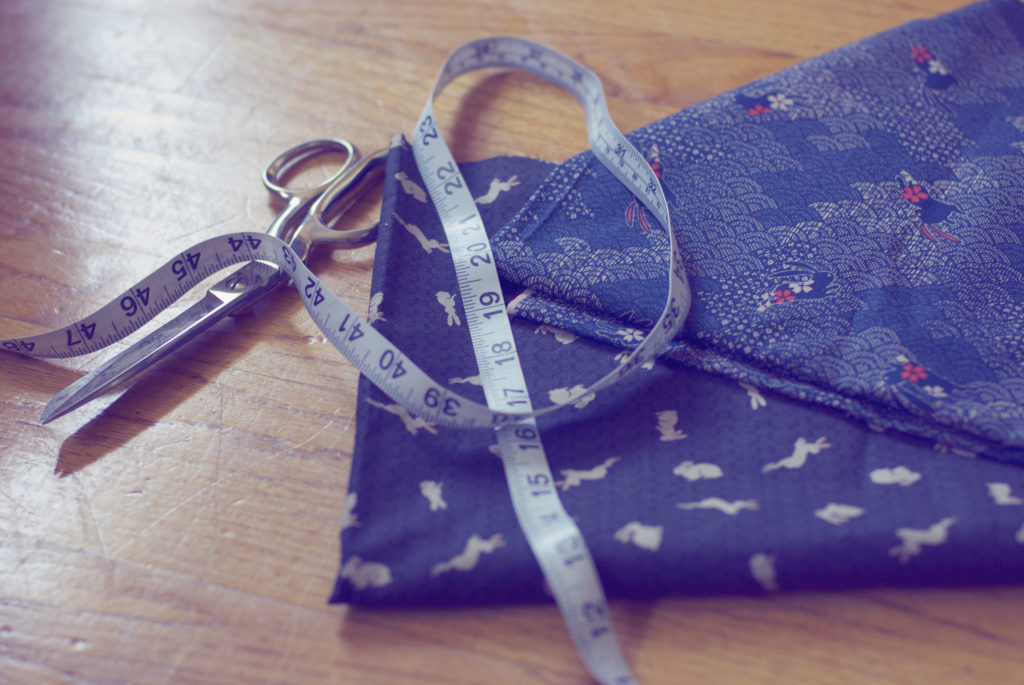
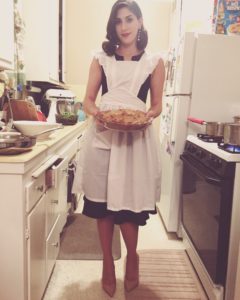
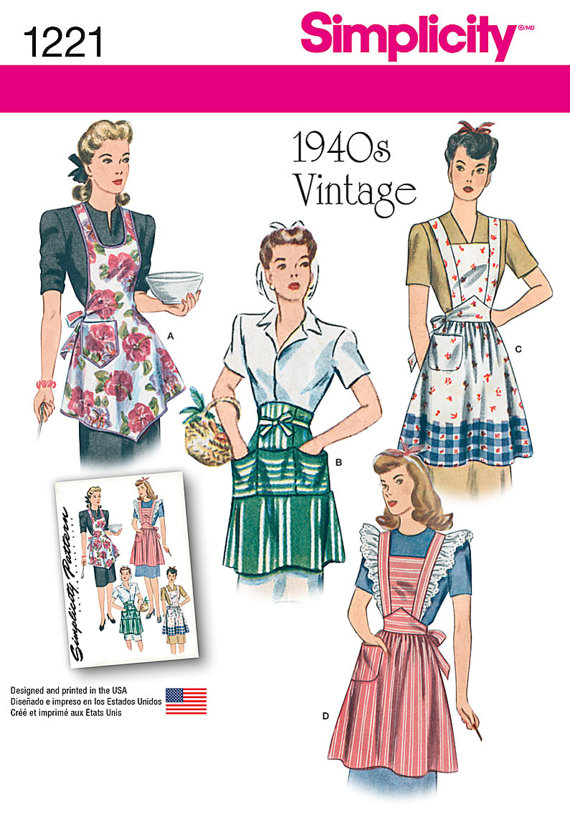
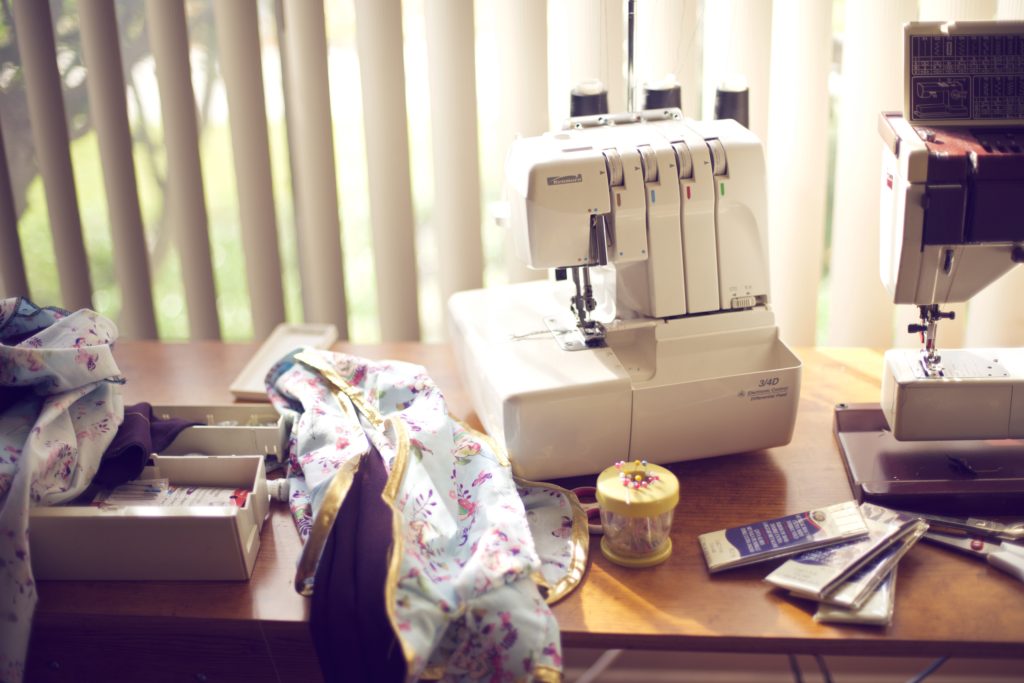
This past Christmas I decided that I wanted to make gifts instead of buying them. I thought…it might be more affordable, more personal. I love sewing, I love being able to express my creativity through creation! I had recently made my own vintage style apron I flaunted off for Thanksgiving. After Face-timing with my family who went crazy over my apron, my mind was made up. Aprons for Christmas it would be! I used Simplicity patterns #1221 in styles A, B, and C!

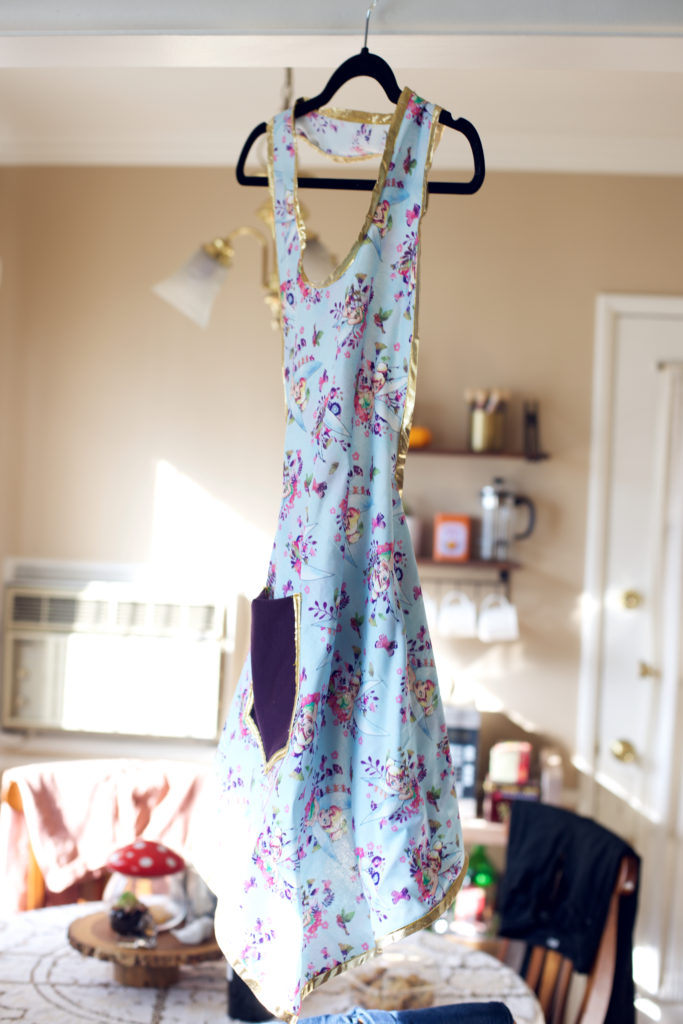
If you know anything about my family, we are big Disney fans. So I immediately went in search for Disney printed cottons. Amazon had a surprisingly good selection of quilting fabrics, and with the 2 day shipping, I was grateful it spared me a trip to Joann Fabrics, or the DTLA fashion district. Tinker bell was perfect for my mom and her sister’s. I used a softer stretch cotton/poly blend for the pocket and the ties. I also added a nice gold bias tape for the edges to give it that magic touch.

I really wish I took a photo of the Sleeping Beauty inspired apron I made…I used all different hues of blue (dark and light) with a gold trimmed pocket. I used bright pink thread for the whole thing, as to give it that “Make it Pink/Blue” effect. It was styled like the white apron I was wearing on Thanksgiving, without the wavy trimming. Ideally I would have set up my photo backdrop with a dress form, but I just ran out of time!

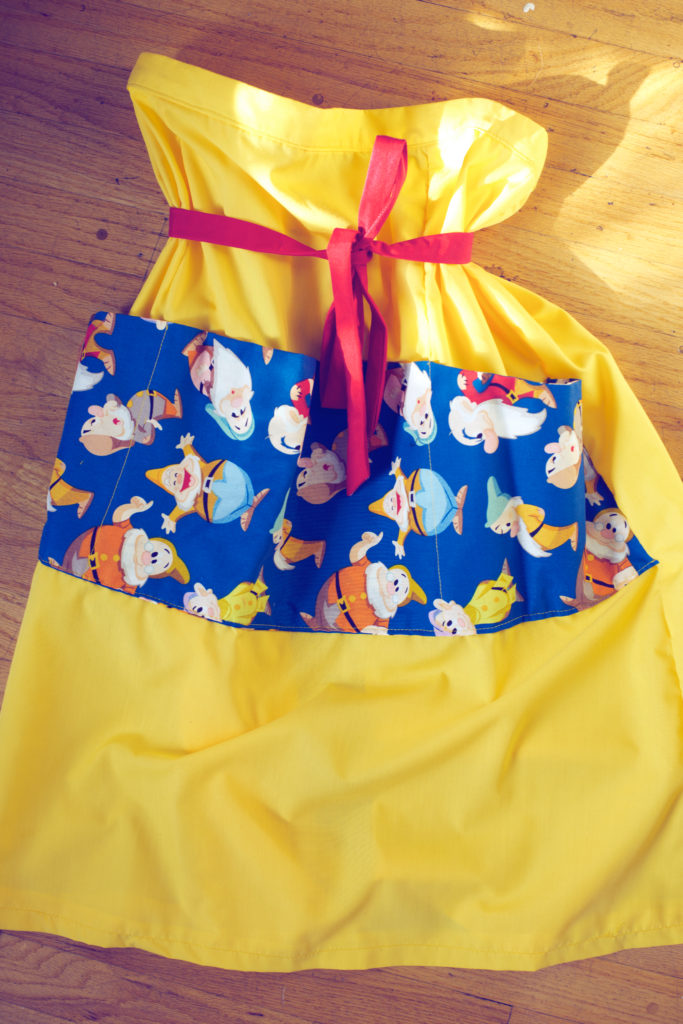
For my sister’s apron I wanted to do something special. I used pattern style B on the Simplicity 1221. A solid yellow for the skirt, and this adorable seven dwarves pattern for the pockets…to top it off, a red ribbon tie for a signature snow white red bow look. I still have some of the dwarf material left, I’d like to do something with the remnants in the near future.


Until my next sewing adventure!


Arts & Crafts, DIY

DIY Silk Magic Garden Terrarium

I had been having trouble keeping different plants alive inside my bathroom terrarium for a few reasons, but mainly not much light, not much airflow (no opening to let in air) even for low maintenance air-plants. I hate to keep fake plants, so I thought why not make my own little fairy garden/magic meadow terrarium?!

I picked up some moss, silk flowers/filler, a cute little bird, and a small nest at Michael’s crafts.

DSC_0077

There’s this baking clay (sculpty clay) you just mold and bake for a few minutes and let cool before painting, It’s very easy to use, and comes in a variety of colors. I bought two packs of just plain white, and only used a fourth of the packet. My mushrooms got baked a little too long, but it ended up looking more like a real mushroom because of it (there are no mistakes with art).

DSC_0107

before clay was baked

DSC_0100

After clay was baked…you can see the little browning on the sides! I even made little lady bugs! I might end up glazing the lady bugs with some clear nail polish, to give it a shine.

DSC_0112 DSC_0113 DSC_0119

I had so much fun with this. It makes me want to create more elaborate pieces for friends and family perhaps for the holidays??? Sometimes we just need to take a step back into elementary school art class and remember how much fun we had creating something to bring home. My mom and sister still have some of the little trinkets we (my sister and I) made for her.

DSC_0129 DSC_0123

I had this little butterfly hanging around too that I decided looked cute in there too. Also I re-purposed one of my candy jars as a second terrarium garden. This is before I added the ladybugs and mushrooms. I used just basic acrylic paint…about 2 to 3 coats on each piece.

DSC_0085 DSC_0090

So cute how they came together! I just need some pixie dust now or something. One is going in my living room and the other being hung back up in the bathroom, but looking much more adorable now.

DSC_0134 DSC_0136 DSC_0137

What would you put in your magic terrarium garden??

Share


Sewing

Sewing Adventures- The Bowtie

DSC_0002

Sewing is one of my many hobbies. I started in high school, where I worked as a costume crew member for the many theatrical productions throughout the school years. I was taught everything I know today, and even dipped into the design aspect of costuming towards my junior and senior year.  That being said, I have a special place in my heart for sewing more dramatic pieces…(especially renaissance attire. I love a good corset!)

I’m starting to get into sewing more clothing for everyday wear…I’m starting off small, so I tried perfecting a  bowtie (not as easy as It sounds to get it just right) design from this amazing fabric I hunted for about two years ago (when I surprised my boyfriend with a trip to the magic castle-hence the rabbits)! The fabric was used for pocket squares, and my 1st attempt at the bowtie. Round two was sure to be a success.
DSC_0018

This time I didn’t use any kind of interfacing…some of the patterns you find online call for it, but this fabric was a thick cotton blend, so I decided to leave it out. I also only had enough fabric for one more cut- no space for error! You basically cut the 4 pieces making sure all are on the same directional grain, and sew them right sides together leaving the tail end open for where you connect them later. I used a plastic chopstick to push the fabric right side out. It helps with the corners too!
DSC_0026

Obsessed with this thimble…have 5 others in different variations! Thimble’s are always good to have around when hand sewing (which was not necessary for this design), especially through thick fabric…although sometimes I end up not using one and stabbing myself…I never learn my lesson apparently.

DSC_0087

My best friend, the seam ripper. This little guy has gotten me out of some big mistakes I’ve made sewing new projects together…it’s the learning process, when you go too far, you have to go a little backwards and rip out a few seams. Definitely a sewing necessity for any level seamster.

DSC_0081DSC_0097

Making sure the corners are clipped after you are done sewing the two pieces (right sides facing each other) together is key to have a nice pointed corner when you turn the fabric right-side out. Also, learning how to tie a bowtie takes a minute…so save time for that.

DSC_0060

Looking good! Make your own bowtie! I used a simple pattern found on pinterest here.

DSC_0105